Enhancing your property's aesthetics and securing your perimeter are essential in the world of home ownership. If you're considering the various types of fences available today, you might have arrived at the popular choice of vinyl fencing. Not only do vinyl fences offer a clean, modern look with low maintenance, but they also provide a durable barrier that can withstand the elements for years.
For those adventurous homeowners who believe in the joy of doing it themselves, we're going to explore the meticulous world of installing a vinyl fence. This handy guide will walk you through every step with the precision and care that's necessary for a project of this nature. If you're in Deltona, FL, this guide will not only instill the confidence to take on the job but also highlight the type of professional work you can expect from local contractors.
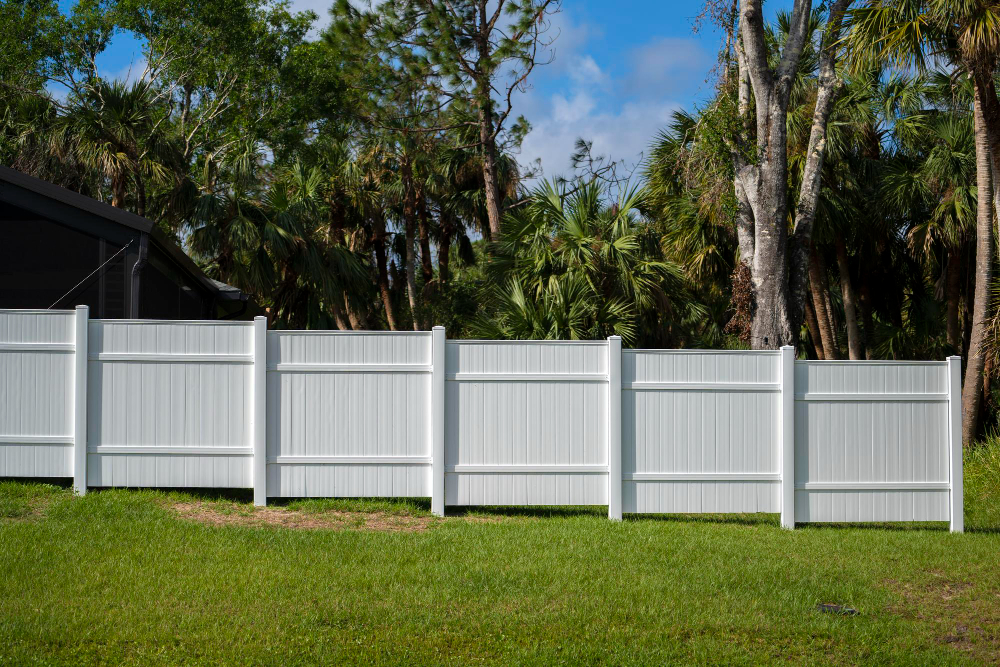
Understanding Vinyl Fencing
Before you start drilling holes and cutting vinyl panels, it's crucial to understand the product you're working with. Vinyl fences are made of PVC (polyvinyl chloride), making them exceptionally durable and largely impervious to stains and other types of disfigurement. One of the key benefits of vinyl fencing is that it doesn't require painting or staining, and it can be easily cleaned with household products.
The Benefits of Vinyl Fencing
- Longevity and durability
- Aesthetic appeal
- Low maintenance
- Resistance to rot, corrosion, and pests
Planning Your Vinyl Fence
Installation success starts with meticulous planning. This phase involves mapping out your property lines, determining the fence layout, and checking with local codes for any restrictions or special requirements.
Drawing Your Blueprint
- Measure and map your property using a long tape measure.
- Check for elevation changes, property corners, and potential obstacles like trees or buildings.
- Sketch out your desired fence layout, taking into consideration the size of the panels and posts, as well as any gates.
- Mark where the fence will begin and end, ensuring it aligns with your property lines.
Research Local Building Codes
- Check height restrictions — typically 3 to 4 feet for front yards and 6 feet for backyards.
- Understand setback requirements — how far from the property line the fence must be placed.
- Investigate the need for permits — some areas require a permit for fence installation.
Tools and Materials You'll Need
To sail smoothly through your vinyl fence installation, you'll need the right tools for the job. Here's a comprehensive list to help you get equipped for the task at hand.
Essential Tools
- Power auger or post-hole digger
- Level
- Measuring tape
- Chalk line
- Socket wrench
- Miter saw
- Rubber mallet
- Hacksaw or vinyl cutting tool
- Drill and bits
Required Materials
- Vinyl fence panels and posts
- Concrete
- Gravel
- Nails or screws
- Gate kit (if including a gate)
- Vinyl post caps
Installing the Vinyl Fence Posts
Fence posts are the backbone of any fence. For vinyl fencing, posts must be installed correctly to provide a solid foundation for the rest of the fence.
Digger for the Job
- Use a power auger or post-hole digger to create the holes for your fence posts.
- Holes should be deep enough to accommodate one-third of the post's height, plus six inches for gravel and concrete.
- Space holes according to the fence panel width, typically 6 to 8 feet apart.
Setting the Posts
- Place a few inches of gravel in the bottom of each hole for drainage.
- Position the posts in the holes and add concrete, ensuring each post is plumb and level before the concrete sets.
- Check alignment using a string line.
Attaching Vinyl Panels to the Posts
With the posts in place, it's time to start adding the panels. This phase requires precision to ensure a seamless and secure connection between the fence and posts.
Panel Preparation
- Trim vinyl panels to fit the length of your fence, if necessary, using a miter saw.
- Cut holes for any obstructions such as trees or fixtures using a hacksaw or a vinyl cutting tool.
Panel Installation
- Slide the notched edge of the first panel into the end post until it rests on the bottom rail.
- Secure the panel to the post using screws or nails, making sure to drill pilot holes first to prevent the vinyl from cracking.
- Add the second panel, ensuring that the tabs lock into the first panel's bottom rail.
Adding Accents and Accessories
A well-dressed fence not only provides privacy but also enhances your landscape. Vinyl fences offer a multitude of accessories and accents to add that final touch of finesse.
Post Caps
- Install post caps to improve the appearance of your vinyl fence and protect the post from the elements.
- Apply a dab of PVC adhesive to the inside of the cap for extra security.
Arbors and Gates
- If you're looking to create an entrance, arbors are a charming addition before the gate.
- Be sure to measure the space accurately for a gate that swings smoothly and aligns with the panels.
Maintaining Your Vinyl Fence
The beauty of vinyl fencing is its relatively carefree nature. Yet, to ensure it remains in prime condition, some maintenance is essential.
Routine Cleaning
- Wash your fence annually with a mild detergent.
- A soft brush can be used for tougher stains, but avoid abrasive sponges or materials that can scratch the surface.
Addressing Damage
- If a panel is damaged, it's best to replace it to maintain the integrity of the fence.
- Remove caps and any fasteners, then carefully slide out the damaged panel.
- Slide a new panel into place and reattach the caps and fasteners securely.
A Call for Professional Fencing
Even though the DIY approach has its rewards, some homeowners prefer to leave the installation to the experts. For those in Deltona, Florida, the dedication and quality work provided by local professionals like Byers Fence can be the assurance you need for a pristine and secure vinyl fence.
When to Reach Out to Contractors
- If you're unsure about local building codes or permits.
- When the project involves complex terrains, landscaping, or property lines.
- If you prefer a hands-off role and want to ensure professional installation.
Contractor Consultation and Services
- Byers Fence offers consultations where you can discuss your fencing needs and receive a quote.
- They handle the entire process, from obtaining permits through installation, offering a variety of vinyl fence options and customizations.
By now, you should have the groundwork laid for tackling the project of installing your very own vinyl fence. However, if the task appears too daunting or time-consuming, you can always rely on the professionals to tend to your fencing needs. In the end, whether you choose the DIY route or seek professional help, a vinyl fence promises to be an asset that will stand strong and proud for years to come. If you're looking for fence contractors in Deltona, FL, contact Byers Fence today to schedule an appointment.